Nov 27

Introduction

Please see the article “Build a Linux-based Infrastructure Solution Demonstration Series” (https://blogs.czapski.id.au/2016/10/build-a-linux-based-infrastructure-solution-demonstration-series) for rationale, introduction and links to articles in this series.

From time to time I may need another user account, configured with the same tools and settings as the demo user which was used in the earlier articles and will continue to be used in the subsequent articles.

In this post I show how a new user can be created and configured using the scripts which were already developed and which are available for use.

Pre-Requisites

This article assumes that

  1. The work is done in the Virtual Box Machine Image created in accordance with the instructions in the blog article to be found at https://blogs.czapski.id.au/2016/10/configure-virtual-box-virtual-machine-and-install-centos-6-8-base-image.
  2. The user “demo” has sudo access without a password. If this is not the case use the command “su -” and provide the password instead of saying “sudo -i” in the set of commands below

The instructions should work in other RedHat 6-like OS’ and OS versions.

Discussion

Let’s assume that we need another user’s environment configured the same way as the demo user’s environment. We were creating configuration scripts in the following articles:

  1. CentOS 6.8 – Script Adding Top Panel Applets – GEyes, ShowDesktop and Gnome Monitor
  2. CentOS 6.8 – Script adding a new gnome-terminal profile
  3. CentOS 6.8 – Create desktop branding scripts and brand desktop

Since the scripts are already available we will, in this article, create a different user, log in as that user, and execute the scripts to set up the environment.

Add user

Assuming that we are logged in as the demo user, which we will be if the article series was followed in the order in which it was published, we have sudo access.

NewUsername=ademo2
sudo useradd -c "${NewUsername} User" -m ${NewUsername}

sudo passwd ${NewUsername} <<'EOF'
welcome1
welcome1
EOF

sudo usermod -G vboxsf ${NewUsername}

Verify that the account was created

sudo -i -u ademo2 ls -al

su ademo2
Password: welcome1

cd
ls -al

exit

Use gdmflexiserver to switch to user ademo2 by running the following command

gdmflexiserver

The Greeter is displayed

041_greeter

Click “Other…”, then enter ademo2 as username and welcome1 as password.

Notice that the login desktop does not have the top panel applets to which we got used to by now when using the demo login into which we are automatically logged in at boot.

Disable Screen Saver and inactivity timer

After a while of inactivity a screen saver will be run. Let’s disable this feature. Right-click on the desktop and choose “Open in Terminal”, then execute the command scripts:

/bin/bash -v /media/sf_distros/scripts/002_disable_screen_saver_and_delays.sh

Configure top panel applets and nautilus file browser

Assuming that we are logged in as user ademo2, let’s add the top panel applets and configure nautilus file browser. Right-click on the desktop and choose “Open in Terminal…”, then execute the command scripts:

# add applets to top panel - you will get "Operation not permitted" at the end but the script will complete what it needs to do
/bin/bash -v /media/sf_distros/scripts/005_add_applets_to_top_panel.sh

# Add standard launchers to top panel - first "fix" the script which has the demo user embedded
sed -i 's|/demo/|/${USER}/|' /media/sf_distros/scripts/007_add_standard_launchers_to_top_panel.sh
/bin/bash -v /media/sf_distros/scripts/007_add_standard_launchers_to_top_panel.sh

/bin/bash -v /media/sf_distros/scripts/008_configure_nautilus_file_browser.sh

Configure gnome-terminal profiles

Assuming that this user account will be used to do the same kinds of things that the dmeo use will, let’s add the gnome-terminal profiles that we added for the demo user

/bin/bash -v /media/sf_distros/scripts/010_make_profile_very_visible.sh
/bin/bash -v /media/sf_distros/scripts/011_make_profile_console_scrolling.sh
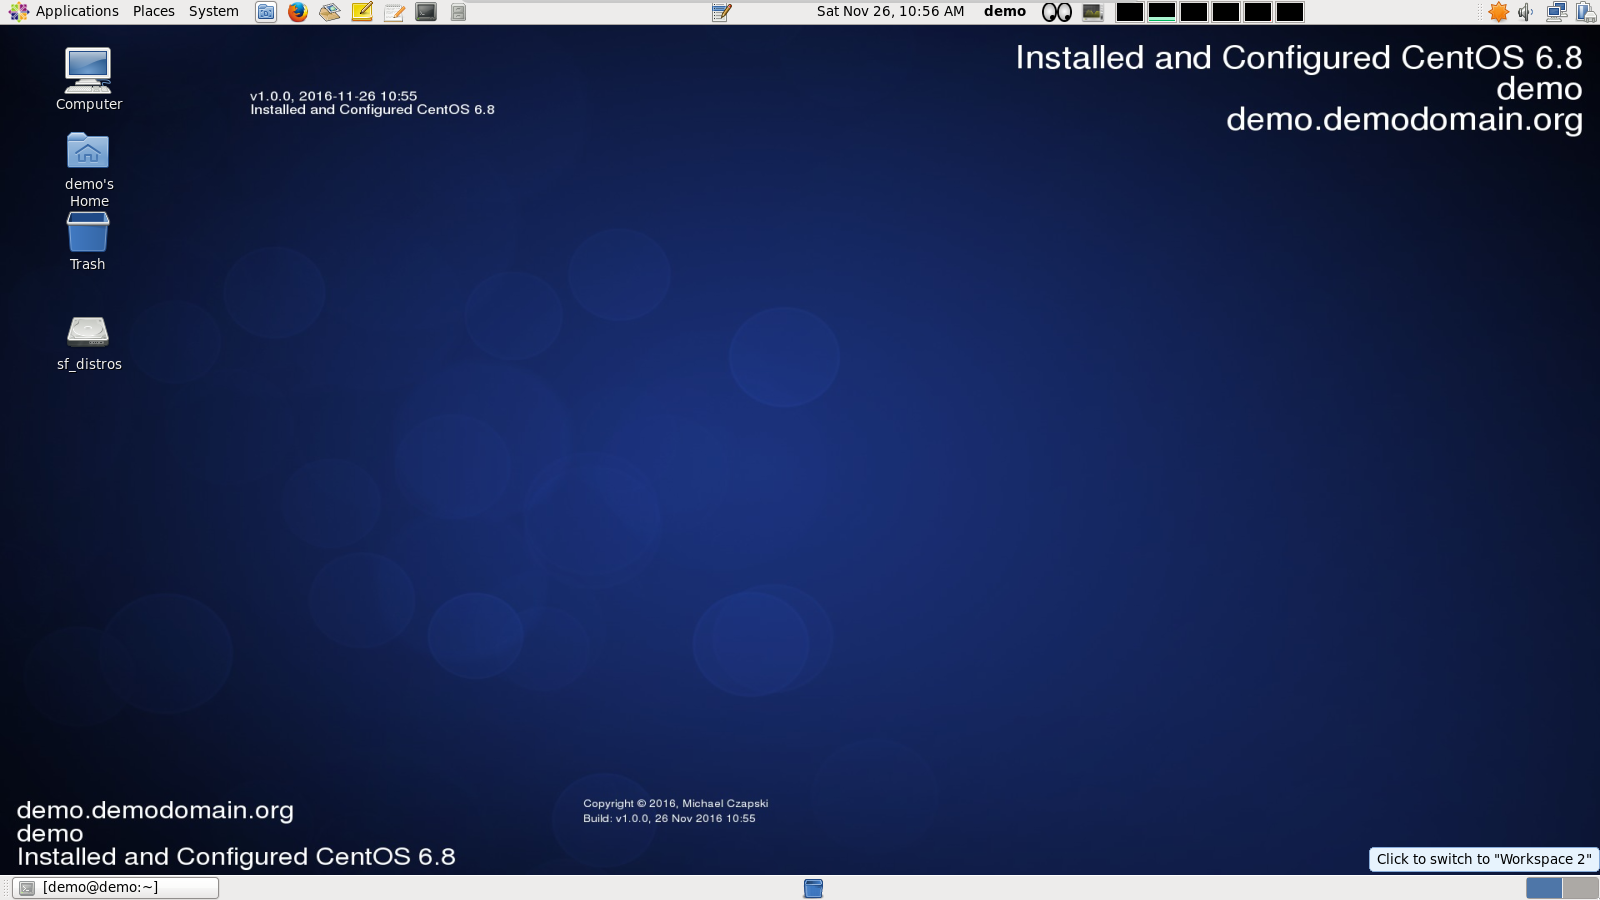
Brand the desktop

Let’s brand the desktop so that we know what is there. This, as you will undoubtedly realise, is done on per-user basis, and perhaps needs to be reconsidered. If additional software is installed by a different user, for example the root user, neither the demo user nor the ademo2 user will have this reflected in their branded desktop. Still, this is probably better than nothing and as long as the administrator updates the branding files and runs the branding script at appropriate times things should go well enough.

# copy desktop branding script to the local directory for execution
# only needs to be done the first time
cp -v /media/sf_distros/scripts/013_source_desktop_branding_script.sh ${HOME}/brand_desktop.sh

# create a rarely changing content
cat <<-'EODECK' > ${HOME}/copyright_and_credits.txt
Copyright © 2016, Michael Czapski
EODECK

# create "current state" content - only needs to be done the first time branding is done
oldVer="v0.0.0"
newVer="v1.1.0"
touch ${HOME}/branding_installed_software_${oldVer}.txt
cp ${HOME}/branding_installed_software_${oldVer}.txt ${HOME}/branding_installed_software_${newVer}.txt

idLabel="Installed and Configured CentOS 6.8"

# append to "current state" content
cat <<-EODECK >> ${HOME}/branding_installed_software_${newVer}.txt
${newVer}, $(date +%Y-%m-%d\ %H:%M)
${idLabel}
EODECK

# brand the desktop
annotationFile=${HOME}/branding_installed_software_${newVer}.txt
creditsFile=${HOME}/copyright_and_credits.txt
buildFile=${HOME}/build_date.txt

${HOME}/brand_desktop.sh "${idLabel}" "${annotationFile}" "${creditsFile}" "${newVer}"

Explore, then log out from ademo2 user and return to demo user

Nov 26

Introduction

Please see the article “Build a Linux-based Infrastructure Solution Demonstration Series” (https://blogs.czapski.id.au/2016/10/build-a-linux-based-infrastructure-solution-demonstration-series) for rationale, introduction and links to articles in this series.

As I work with the various demonstration images I find myself taking longish breaks between bouts of activity so I like to have a clear indication, right on the desktop, of what state the image is in. What software was installed, what tis the name of the checkpoint I reached so that I can look up the specific section in the installation document I build at the same time, and so that I can resume work where I left off.

In this post I walk through the method of “branding” the desktop with text which tells me that what is installed, what the checkpoint has been reached, what the host name is and what user is logged in. I will subsequently use this script to brand the desktop each time something significant is done to the image.

The image blow shows the desktop branded using the method described in this article.

040_branded_desktop

Pre-Requisites

This article assumes that

  1. The work is done in the Virtual Box Machine Image created in accordance with the instructions in the blog article to be found at https://blogs.czapski.id.au/2016/10/configure-virtual-box-virtual-machine-and-install-centos-6-8-base-image.

The instructions should work in other RedHat 6-like OS’ and OS versions and on platforms that use gnome-2 desktop.

Discussion

The branding method relies on the ability to change desktop background using gconftool-2 by providing a location of the image which to use, and on the fact that ImageMagc can be used to programmatically manipulate images by adding text and other graphical artefacts to existing images.

This capability is used to mark up an existing desktop image with text that reflects the username, host name, label designating the state the image is in and a list of software which was installed up to the point at which desktop was branded.

Update ImageMagic Security Profile

As shipped in CentOS 6.8 and Oracle Linux 6U8 at least, ImageMagic, which I use to manipulate desktop image I will use, has security restrictions which prevent it being use the way it needs to be used to accomplish what needs to be accomplished in this post. To allow the manipulation to be done one must replace the ImageMagic security policy file. We will develop a script, to be added to the bilk initial setup script set, in the next section.

Let’s create a script which will update the ImageMagic security profile so that we can watermark the desktop image with text we want to see on the desktop.

cat <<-'EODECK' > /media/sf_distros/scripts/012_update_imagemagic_security_profile.sh

# Save ImageMagic policy file
if [ ! -f /etc/ImageMagick/policy.xml_orig ]; then
    sudo cp -v /etc/ImageMagick/policy.xml /etc/ImageMagick/policy.xml_orig
fi

# Create replacement policy file
cat <<-'EOF' | sudo tee /etc/ImageMagick/policy.xml
<?xml version="1.0" encoding="UTF-8"?>
<!DOCTYPE policymap [
<!ELEMENT policymap (policy)+>
<!ELEMENT policy (#PCDATA)>
<!ATTLIST policy domain (delegate|coder|filter|path|resource) #IMPLIED>
<!ATTLIST policy name CDATA #IMPLIED>
<!ATTLIST policy rights CDATA #IMPLIED>
<!ATTLIST policy pattern CDATA #IMPLIED>
<!ATTLIST policy value CDATA #IMPLIED>
]>
<!--
  Configure ImageMagick policies.

 Domains include system, delegate, coder, filter, path, or resource.
 Rights include none, read, write, and execute.  Use | to combine them,
  for example: "read | write" to permit read from, or write to, a path.
  Use a glob expression as a pattern.
  Suppose we do not want users to process MPEG video images:
    <policy domain="delegate" rights="none" pattern="mpeg:decode" />
  Here we do not want users reading images from HTTP:
    <policy domain="coder" rights="read | write" pattern="HTTP" />
  Lets prevent users from executing any image filters:
    <policy domain="filter" rights="none" pattern="*" />
  The /repository file system is restricted to read only.  We use a glob
  expression to match all paths that start with /repository:
    <policy domain="path" rights="read" pattern="/repository/*" />
  Let's prevent possible exploits by removing the right to use indirect reads.
    <policy domain="path" rights="none" pattern="@*" />
  Any large image is cached to disk rather than memory:
    <policy domain="resource" name="area" value="1gb"/>
  Note, resource policies are maximums for each instance of ImageMagick (e.g.
  policy memory limit 1GB, -limit 2GB exceeds policy maximum so memory limit
  is 1GB).
-->
<policymap>
  <!-- <policy domain="system" name="precision" value="6"/> -->
  <!-- <policy domain="resource" name="temporary-path" value="/tmp"/> -->
  <!-- <policy domain="resource" name="memory" value="2GiB"/> -->
  <!-- <policy domain="resource" name="map" value="4GiB"/> -->
  <!-- <policy domain="resource" name="area" value="1gb"/> -->
  <!-- <policy domain="resource" name="disk" value="16eb"/> -->
  <!-- <policy domain="resource" name="file" value="768"/> -->
  <!-- <policy domain="resource" name="thread" value="4"/> -->
  <!-- <policy domain="resource" name="throttle" value="0"/> -->
  <!-- <policy domain="resource" name="time" value="3600"/> -->
  <policy domain="coder" rights="read | write" pattern="EPHEMERAL" />
  <policy domain="coder" rights="read | write" pattern="HTTPS" />
  <policy domain="coder" rights="read | write" pattern="HTTP" />
  <policy domain="coder" rights="read | write" pattern="URL" />
  <policy domain="coder" rights="read | write" pattern="FTP" />
  <policy domain="coder" rights="read | write" pattern="MVG" />
  <policy domain="coder" rights="read | write" pattern="MSL" />
  <policy domain="coder" rights="read | write" pattern="TEXT" />
  <policy domain="coder" rights="read | write" pattern="LABEL" />
  <policy domain="coder" rights="read | write" pattern="TXT" />
<!--  <policy domain="path" rights="none" pattern="@*" /> -->
</policymap>
EOF
EODECK
chmod ug+x /media/sf_distros/scripts/012_update_imagemagic_security_profile.sh

Execute the script to update the policy file

/bin/bash -v /media/sf_distros/scripts/012_update_imagemagic_security_profile.sh

See the differences

diff -y --suppress-common-lines /etc/ImageMagick/policy.xml /etc/ImageMagick/policy.xml_orig

Create Desktop Branding script

Create the branding script with 4 arguments

cat <<-'EODECK' > /media/sf_distros/scripts/013_source_desktop_branding_script.sh
#!/bin/bash
# check that each individual argument exists
: ${1?"Usage: $0 " '${idLabel} ${annotationFile} ${creditsFile} ${newVer} - provide content for the idLabel - exiting ...'}
: ${2?"Usage: $0 " '${idLabel} ${annotationFile} ${creditsFile} ${newVer} - provide path to annotationFile - exiting ...'}
: ${3?"Usage: $0 " '${idLabel} ${annotationFile} ${creditsFile} ${newVer} - provide path to creditsFile - exiting ...'}
: ${4?"Usage: $0 " '${idLabel} ${annotationFile} ${creditsFile} ${newVer} - provide version number like 'v1.2.3' - exiting ...'}

idLabel=${1}
annotationFile=${2}
creditsFile=${3}
newVer=${4}

# "build date" is a date/tim stamp reflecting when the script was run
cat <<-EOF > ${HOME}/build_date.txt
Build: ${newVer}, $(date +%d\ %b\ %Y\ %H:%M)
EOF
buildFile=${HOME}/build_date.txt

# ImageMagic command uses the default.png background - this can be readily changes
# Username and Host name are written near the top right (northeast) in 42pt
# and near the bottom left (southwest) in 32pt
# content of the annotation file, credits file and build file are written in the appropriate
# places in the image - see pictire for where this is
#
mkdir -p ~/imgman
cd ~/imgman
bgfile=$(hostname -s)_${USER}.jpg
myhost=$(hostname)
convert /usr/share/backgrounds/default.png \
-gravity northeast -fill white -pointsize 42 \
-annotate +20+60 "${idLabel}\n${USER}\n${myhost}" \
-gravity southwest -fill white -pointsize 32 \
-annotate +20+40 "${myhost}\n${USER}\n${idLabel}" \
-gravity northwest -fill white -pointsize 18 \
-annotate +300+120 @${annotationFile} \
-gravity southwest -fill white -pointsize 14 \
-annotate +700+120 "$( cat ${creditsFile})" \
-gravity southwest -fill white -pointsize 14 \
-annotate +700+100 "$( cat ${buildFile})" \
${bgfile}

# replace the current desktop background with the modified desktop background
gconftool-2 -s -t string /desktop/gnome/background/picture_filename "${HOME}/imgman/${bgfile}"
EODECK
chmod ug+x /media/sf_distros/scripts/013_source_desktop_branding_script.sh

Copy desktop branding script to the local directory for use

cp -v /media/sf_distros/scripts/013_source_desktop_branding_script.sh ${HOME}/brand_desktop.sh

Brand the desktop

Create branding file with the content that rarely changes – it will appear at the centre near the bottom of the desktop

cat <<-'EODECK' > ${HOME}/copyright_and_credits.txt
Copyright © 2016, Michael Czapski
EODECK

It is expected that the software list file, which in my case contains the list of software I installed and configured, will grow between the times the desktop gets branded. To keep the list up to date one will copy the most recent version of the branding file with a new version and append text to it to provide information on what changed since.

Append to software list file – the first time around the software list file will not exist

oldVer="v0.0.0"
newVer="v1.1.0"
touch ${HOME}/branding_installed_software_${oldVer}.txt
cp ${HOME}/branding_installed_software_${oldVer}.txt ${HOME}/branding_installed_software_${newVer}.txt

Label is the text that identifies the current iteration of the image and in my case correlates with the checkpoint names in the installation document used to build the image and possibly with the snapshot names in VirtualBox .

idLabel="Installed and Configured CentOS 6.8"

The branding file incorporates the version, date/time stamp and the label

cat <<-EODECK >> ${HOME}/branding_installed_software_${newVer}.txt
${newVer}, $(date +%Y-%m-%d\ %H:%M)
${idLabel}
EODECK

Execute the script to brand the desktop

annotationFile=${HOME}/branding_installed_software_${newVer}.txt
creditsFile=${HOME}/copyright_and_credits.txt
buildFile=${HOME}/build_date.txt

${HOME}/brand_desktop.sh "${idLabel}" "${annotationFile}" "${creditsFile}" "${newVer}"

Add to initial bulk configuration script

It is expected that the image being configured a bit at a time in this series of articles will be created more than once for different purposes. With this assumptions the individual scripts are appended to a single script so that the second and subsequent images can be configured by a single script rather than having lots of scripts to execute manually.

Copy the global desktop branding script to the local directory for execution

Don’t actually execute this script while you are building the first image.

cat <<-'EODECK' >> /media/sf_distros/scripts/000_initial_bulk_configuration.sh
# update ImageMagic security policy file
/bin/bash -v /media/sf_distros/scripts/012_update_imagemagic_security_profile.sh

# copy desktop branding script to the local directory for execution
cp -v /media/sf_distros/scripts/013_source_desktop_branding_script.sh ${HOME}/brand_desktop.sh

EODECK
chmod ug+x /media/sf_distros/scripts/000_initial_bulk_configuration.sh
preload preload preload